 |
| Image used for Presentation Only |
You might be spending hours working on your edits, isn’t it
? How many hours do you take to get done with the Post Processing?
People often ask me this question, and I’m pretty sure, many
of you might also have come across the same question many a times. Yes,
It does takes hours to wrap up the editing workflow, and it’s not a simple
task.
So today, to save those extra hours that you spend sitting
in front of the screen & working on the edits, I’d like to share this
simple but effective way you can speed up your workflow in Lightroom.
You’re done with the day's shoot, and are excited to
start working on those images, you get home, start with transferring the files
to your PC / Laptop, Import them in Lightroom and then, it’s a long
wait….???? Things will be different now on!
Here’s what I do when I’m back home, I start with
Transferring the files to my Laptop, my Images are all RAW files, so by
the times its done, I take a shower and I’m ready with A Cup of
Coffee in front of my system, all set and Good to go……
1. Launch Lightroom
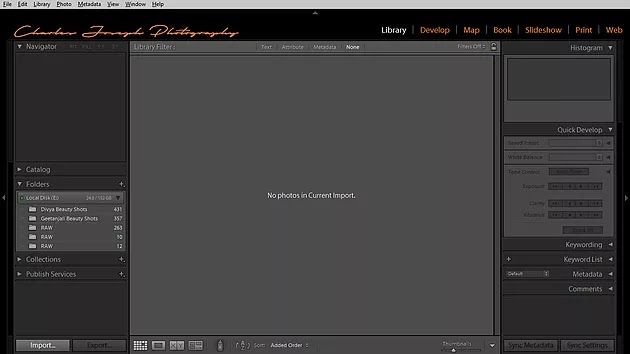
2. Import

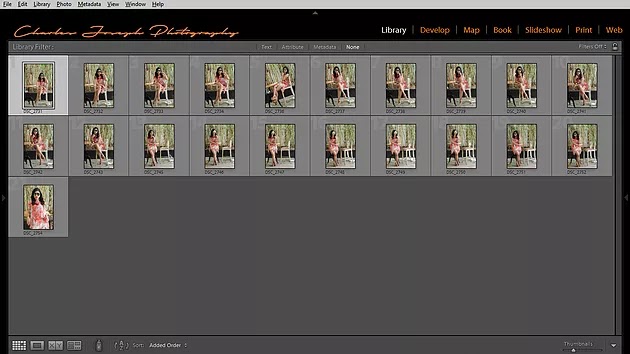
Once you have launched Lightroom, You need to import the images to it. To do so, Just click on the Import tab, at the Bottom left corner of the screen. Once you are on this screen, Locate the source file from the folder listed in the menu. Once you find the files, You can select all the files or else only those which you wish to work on. you can Increase the Thumbnail size just by sliding the slider forwards or backwards just to have a clear view at the images.
3. Build Preview

Once you have selected the images, the next step is to
handle the files and their Preview. To do this, click on the tab that
says File Handling, at the Right Upper corner of the screen. Go to Build
Previews and select Minimal from the drop down box. once you've done that, Hit
Import.
File Handling > Build Previews > Minimal
4. Build Standard Size Preview

Now that you have Imported the images using Minimal Preview,
the Import was done Super Fast, but being working on RAW files, the files will
take time to load up if you keep viewing them and way more time if you
start working on the edits.
so the next step you do is, You build Standard Sized
Preview. what this does is like the name states, it builds a standard size
preview, making it easy to scroll through and work with.

To do so, select all the images (Ctrl+A), then from the
Menu bar select Library, Under Library select Previews and click on Build
standard-sized Previews.
Menu > Library > Previews > Build Standard-Sized
Previews.
The time to Build Standard-Sized Previews, depends on
the amount on files selected, so be patient .
Once your Standard Size Previews are been build, Lightroom
with Notify you with a Pop Up on the screen, stating "Standard Size
Previews build for so and so no of files", Just Hit OK and your done.
Now
that your files are ready, Just Hit the "tab" key to toggle
(show/ hide) the side bars, and enjoy the images.

Love that image which you shot, Hit "D" and your
ready to work on the image in Develop mode.
I hope this post has saved you a lot of time and you got to
learn something new about Lightroom too, if you find this post helpful, Please
share it and help others save their time working on the post processing.
stay connected for some cool editing tips, hidden
tools and free Presets for Lightroom.
Comments
Post a Comment